Update to the below article located here.
This is the end of perhaps one of Autodesk’s last truly invaluable offerings. Decades ago it was free. Over the years it’s transitioned from a One-Time upgrade cost to an annual fee. Now it’s going away completely for most products.
Anyone that knows me knows I’ve spoken about how Autodesk can do what they want when it comes to Licensing. They’re in the driver’s seat. This is yet another example. All you can do is respond in the best manner possible.
What’s Happening?
Starting May 7, 2020 and renewals after that date, you’ll be offered an option to move to new “Per User” plans at a discounted rate. Much like the “Maintenance to Subscription” offer about 3 years ago, you’ll get discounted pricing that’s guaranteed not to increase more than 5% every other year through 2028.
While that doesn’t sound too bad on the surface, it’s a very shitty deal. I’ll explain why in a bit but it’s a deal you should take it none the less. Why? Because the alternative is going to be much worse.
If you don’t take up Autodesk on the offer during your next renewal come May 7, 2021 and after, you’ll no longer be able to renew those Multi-User plans. You’re done. Your choices are stop using Autodesk products or buy new subscriptions at full MSRP.
Why is the Deal Bad? It’s the Alternative That Sounds Bad.
I describe this as a shitty deal because it’s going to cost you in may ways. Most construction related engineers and architects can run 2.5 to 3 users per license in a multi-user configuration. The deal will allow you to get 2 named user licenses for each single multi-user license you trade in. This is described as being roughly a “similar price to what you’re paying today”. To make up any shortfall, you’ll be buying more “Named User” licenses at full MSRP to make up the difference.
What’s really bad is where a single license serves large numbers of users. Most often because it has very low or occasional use across a wide user base. I’d venture to say, our Point Layout license gets less than 20 hours use a year and it’s spread across 30+ users as it “floats” in a multi-user environment. Nobody will be buying multiple copies and dedicating them to that quantity of users. Your option is to direct all work requiring Point Layout to the few dedicated users. Autodesk licensing policy is now dictating your workflow. That’s not what’s best for your organization.
The only other alternative is to have an administrator log into the licensing portal and un-assign and reassign the license to users as they need. This is not the “Simplified” license management Autodesk says it is. The term they use is “Flexible User Access”. Something that use to just happen automatically is now an administrative task.
Why Are They Doing This?
Revenue. Plain and simple. As a publicly traded company, it’s their fiduciary responsibility to shareholders to maximize revenue. Especially when the rest of the software industry is moving in that direction and using similar models. Companies like Adobe and Microsoft. Microsoft doesn’t even consider you to have licenses of anything anymore. It’s all services. Windows is a service. Office 365 is service. The difference with Microsoft is I get a whole lot more for my money. I can get just about everything they offer for an enterprise for less than $100 per user per month. With Autodesk we pay $100/month per user to share PDF’s with Plangrid.
I suspect they also want to take more of an approach like Microsoft where they send you an Email letting you know who your top collaborators are and the number of hours of “focus time”. While those are interesting Emails from Microsoft, I don’t know anyone that’s changed their behavior because of them.
Where Can I Get More Info?
Donnie Gladfelter’s “The CAD Geek” blog gives a good summary. Neil Cross also has a good YouTube video outlining the changes.
Or you can get the details directly from the horse’s mouth along with a lot of misinformation and misleading statements here…
Announcement….
https://www.autodesk.com/campaigns/transition-to-named-user
Terms & Condittions…
https://www.autodesk.com/campaigns/transition-to-named-user/terms-and-conditions
Info-graphic…
https://damassets.autodesk.net/content/dam/autodesk/www/campaigns/tnu/20014-named-user-infographic.pdf
Autodesk Discussion Forum…
https://forums.autodesk.com/t5/subscription-changes/bd-p/6073
What’s Autodesk Saying That’s Misleading?
A lot actually. I don’t begrudge them for trying to maximize revenue. I’d do the same if I were them. Especially in light of an industry moving that way. They’re simply trying to modernize their business and revenue model like others have. Failure to do so would likely lead to more activist investors attempting to hijack the board much like Carl Bass had to contend with toward the end of his CEO tenure there. Activist investors on Autodesk’s board is not a good thing for customers.
What I really take issue with is their explanations and reasons that this is good for you. It’s the equivalent of sitting at the park, enjoying a nice ice cream cone on a hot summer day. All of the sudden a stranger appears. They take a big lick of your ice cream cone and proceed to tell you how they’ve just improved the flavor and you should enjoy it.
The other issue I have is it will eliminate a number of licenses and software for a lot of users. I don’t suspect that’s what Autodesk wants. But they really don’t understand how network licensing benefits users even when it’s not about sharing licenses.
Here’s my breakdown on what’s misleading…
“You’re Not a Number To Us”
Dedicated licensing is being sold as a way for them to give you a better user experience. This is just rubbish. Large customers (+$1M annual Autodesk spend) who have Enterprise TokenFlex accounts use network licenses for their enterprise. Everyone has access to everything, no limits. Network license usage is reported back to Autodesk on a “per user” (not computer) basis to determine the utilization. Simply put, providing an identified user experience can be accomplished without eliminating multi-user licenses. They just choose not to.
“No more anonymous serial numbers“
I’m not sure what that means. I haven’t had issues managing serial numbers for two decades before they allowed multi-seat standalone serial numbers. The mess back then was a result of poor reseller performance. The few remaining resellers are much more sophisticated today. They do a much better job of guiding their customers.
“Streamlined Management“
Where I work, I have 5 serial numbers, 7 Products and 50+ users/installs. Which would you rather manage? When they talk about “Flexible User Access”, they’re referring to the ability to log into their portal, un-assign a license and reallocate it to a new user. This use to happen automatically in a network license server environment. It’s now a manual process. That “one” license that floats to everybody, I’ll be performing that reassignment on a weekly basis if not daily sometimes. While folks are waiting for me, others are waiting on them for deliverables. Yet again workflow is interrupted due to Autodesk licensing policy and technology.
With dedicated user licenses I also now review every Email from HR about departures and terminations. Those Emails get reviewed against my user list in PlanGrid, BIM360, and now Autodesk Accounts. This wasn’t required with a multi-user setup.
“No More Managing Complicated License Servers”
They’re not complicated although a lot of folks seem intimidated by them. Resellers will gladly manage them for you. I spend less that 10 minutes a year on it. Once IT hands me a new server, I can stand it up in about 15 minutes.
License servers also allowed me to run a utility like JTB Flex Report and get highly customized data rich utilization reporting. I’ve begged for years for more robust reporting from Autodesk and it’s always been disappointing. Autodesk reporting always appears to provide value but only for those who don’t understand how Autodesk products work. It’s rare it actually provides the insight I want or need. Insight that allows me to gauge new production adoption or training needs or just volume of work types.
If you’re using multi-user licenses, I highly recommend purchasing JTB Flex Report now and start capturing data before your next renewal. This will give you the data you need to understand what to convert and what you can drop. No commissions or kickback to me. Just a long time user and fan.
“No More Managing Multiple Deployment Types“
Technically true but to be fair, there were only ever two. Stand-Alone and Multi-User. Either could be deployed as needed. Multi-User would just “work”. Stand-Alone would require activation..anyone could be logged in to do it. Now I need to log in “as the user” to get a system setup when on-boarding a new user.
“Get 2 Trade In Licenses for Every Network License“
Sounds like a deal until you realize you need more than that to replace the functionality of your multi-user license. Those will be purchased at full cost or you’ll go without. We’ll likely drop our Manufacturing Collection which provided us with Inventor and pick up Solidworks for our needs in construction.
In a construction firm, shop and field staff rotate quickly depending on workload and project phasing. Many “Could” use Autodesk software but don’t need it. They won’t get it any more. I’m not going to pay for multiple full licenses for an hour’s use a month.
The other hit is user training. I’d typically give Multi-User licensed products to everybody. Some would then use breaks and lunch to learn new products like 3ds Max or Inventor. This helps organic growth of Autodesk products. If I have an ambitious user, it helps me add more capabilities and capacity and a lower cost. I’ve never had a contractor approve a 3ds Max license. But when I’ve had a user learn on their own, they magically are in demand once the company sees what they can do. That all goes away on our next renewal.
“Option to Buy Premium Plans for Additional Value like Reporting and Single Sign-On (SSO)”
I spoke earlier about loss of meaningful reporting. Technically you’ll be able to get it direct from Autodesk. But you’ll be paying for it. $300 per subscription. For a firm with 100 subscriptions, that’s an additional $30k annually.
Autodesk also has a poor track record of license reporting. Anyone care to explain how BIM360 Docs licensing works? It’s confusing. Back in October 2017 when licensing enforcement of C4R was “Fixed”, project teams all over couldn’t work and reseller’s phones were ringing off the hook.
Today at work, my BIM360 Docs account says I’m using 110 of 30 licenses. Am I out of compliance? No. Just broken licensing and poor implementation of reporting of a confusing and inconsistent license structure.
Single Sign-On (SSO) on the other hand is a welcome and long overdue addition. But again, you only get it if you purchase the additional “premium” upgrade. It also remains to be seen how robust SSO will be. Does it simple enable/disable accounts? Or will I be able to provision licenses to different products using Azure Active Directory groups?
The real value of Single-Sign On is from a security standpoint. When a user leaves, they’re access is shut off. This isn’t really a risk with desktop products. Where it is a risk is with BIM360 and other cloud offerings. It’s unclear of SSO will apply to BIM360 out of the gate. I assume it will at some point.
What’s in it for Autodesk?
There’s a lot of reasons Autodesk might want “User” based licenses. Revenue is obviously one of them. But they’ve never streamlined anything and made it cost less. Instead the complicate things and then charge more to “simplify” them. This has been the cycle for over 2 decades.
I suspect as Donnie pointed out in his Blog, they want to drive insights from users and provide that for a fee. Take away your ability to gain insight yourself and instead you pay them for information about your data.
Quite frankly, I don’t trust Autodesk to provide that insight to our users or workflows. They’ve already taken away our data, it sits on the BIM360 accounts of the architect or general contractors. Not sure how I’m suppose to maintain the operations of an MEP system using BIM360 post construction when I don’t even have the data any longer.
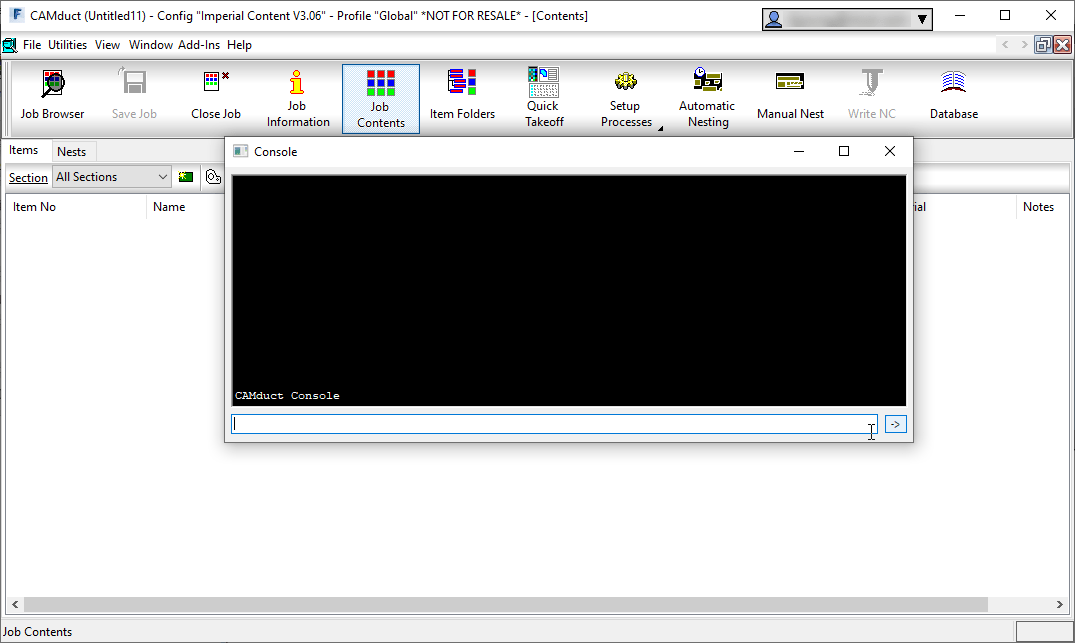
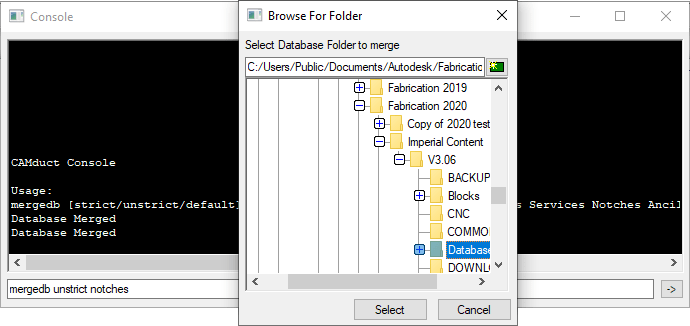
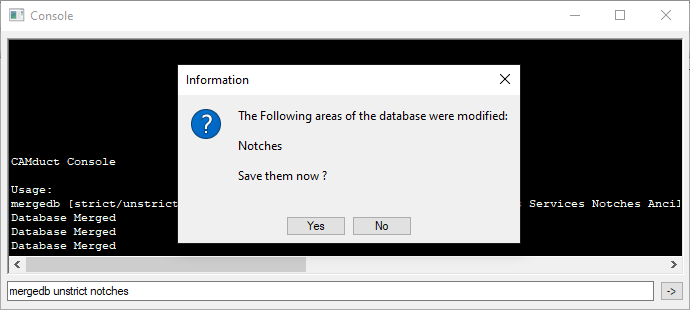
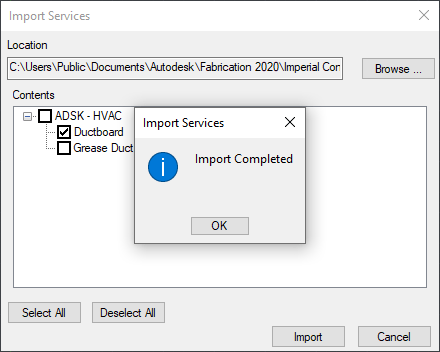
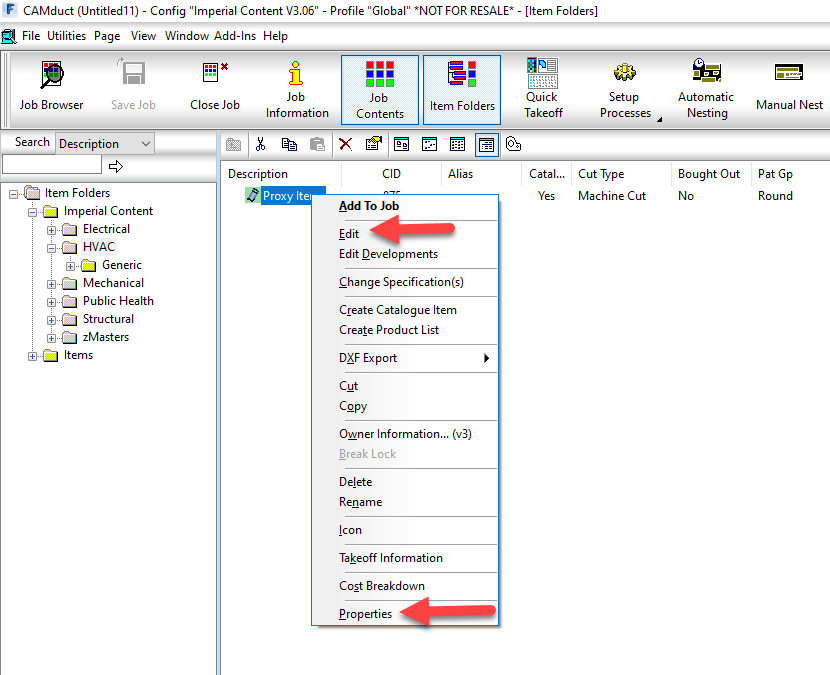
The frequent mass layoffs and pivot from a desktop software company to a platform company really stagnated MEP contractors who use Autodesk Fabrication. MEP Contractors have been using digital models for over two decades. We did “BIM” before anyone else in construction was in 3d. Now, we use 4 year old CAM software because of multi-year defects that are not being fixed. Even if I used the latest version, that CAMduct software which outputs data to my new $1M coil line…guess how I communicate what file the operator needs to load? A black Sharpie marker. The software can’t even report the name of the file it just generated. The only other option is to hire a programmer for most firms who don’t have the capability to do it themselves (most don’t).
The Real Lost Value – Lost Users
Perhaps the real lost value in all of this in construction is the reduction of software access to users. We’ll have less people using less Autodesk software. Think this number is insignificant? My last employer (against my guidance) signed one of those $3.5M/3-Year Enterprise Tokenflex deals. (They’ve since dropped it).
As part of a TokenFlex engagement, you run their licenses for a trial period to gauge usage so you can forecast your purchase for 3 years. Autodesk’s abysmal analysis was simply add 5 of each license over 3 years. Didn’t matter if it was 150 seats of Revit or 1 seat of 3ds Max. They just added 5 to everything.
For this reason, I performed my own analysis. With a company directive to double in revenue, migrating users from AutoCAD/CADmep to Revit Fabrication Parts and rolling out Collaboration for Revit, my forecast was within %0.1 over the next two years.
In short, I know Autodesk licensing VERY well and I know users and their usage patterns EXTREMELY well. We knew our engineers were 2.5-3 users per license. Piping, Plumbing and Sheetmetal detailers were 1-to-1. But there was another 1/3 of our user base that fall into the “part time” or “low usage” category. Their usage was low. Very low. Those ~200 regular users (120 Engineers, and 80 Detailers)….they had another 100 users. One day a month. 5 Minutes a day once every couple weeks. In Autodesk’s new “Named User” model, 1/3 of the users will loose access to licenses.
Any Yet More Cost
Companies that have a dedicated CAD or BIM manager will now need a dedicated license of everything though they rarely use it. No more floating licenses which allow them to fire up a product quick and solve a problem. Or they’ll need to take away the license of a user in need to give themselves access to troubleshoot an issue.
Added License Compliance Risk
Lastly, this is a huge licensing compliance risk. With all software being driven by only an Email address that doubles as an Autodesk ID any user can freely download and install the software at home or on a friends system. As long as they’re employed and have a license, IT compliance will be non-existent. I can’t stop it. I won’t even know about it.
Now it’s true, I can purchase a premium plan add-on and get reporting and SSO. Assuming the user (and their friends) aren’t using a glaringly obscene amount of hours, I simply won’t know. In a large organization, if that part time user wants to setup a friend or another business with your license, you simply won’t know unless you personally know that user.
Even if the employee leaves, a lot will still have access. Especially in union construction firms. Signatory employees in many firms are not handled through traditional IT channels. IT often struggles with terminating account access to IT systems and cloud services because people are Hired and Fired outside IT and HR’s control. Union contract dictates employment process so most HR departments are happy to step aside. Luckily, I don’t have this issue where I am now (our HR does a great job) but it exists in other firms. At my last job, I routinely reported users who weren’t employed but still had access…sometimes for years…when I ran across them.
Is There Any Silver Lining In All Of This?
Perhaps. As I said earlier, I’ve asked for better, more robust and sometimes just any reporting before. Over a decade I’ve attended countless “Customer Sessions” at Autodesk University covering these topics as well as surveys, phone calls and in person meetings.
Nothing has ever happened because lets face it, there will be zero additional customers buying Revit or Inventor because of license reporting. Usage reporting isn’t a purchasing factor. It didn’t have a product owner or a revenue stream and as such, received no attention from Autodesk.
Perhaps that will change now. I don’t want to pay an extra $30k a year just to remain license compliant, secure and informed about our users. But I likely will. And because there’s now a revenue stream behind it, perhaps Autodesk will finally give it the attention it’s long deserved.