Merging Autodesk Fabrication Databases (Method 3 of 4)
Warning: This is Part 3 of a 4 part series on merging Autodesk Fabrication Databases. Autodesk Fabrication software is extremely powerful and flexible but that also makes it very fragile. Use the below guidance with caution. I highly recommend backing up your configuration before attempting anything I’ve recommended. It never hurts to have a firm grasp of how Autodesk Fabrication functions from an administrative perspective. Consider yourself warned!
Method 3: Service Export/Import
This method is very similar to Method 2 above except that it works on a full service and all the items within it’s service template. If you have an existing service you want to post from one Database to another, this is a great method. Even if you just have a library of multiple ITM’s, it’s very common to create a transport service. That service holds those ITM’s and can be used as a means to get ITM’s from one database to another. Here are the steps.
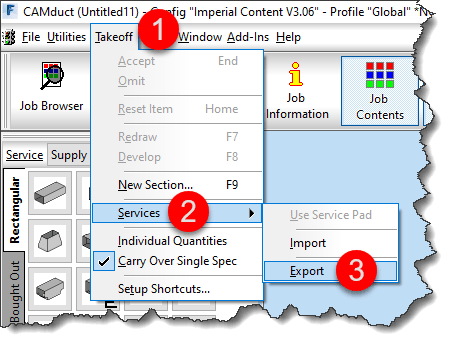
From CADmep, type EXPORTSYS at the command line or in ESTmep or CAMduct, while in the Takeoff screen, select Takeoff -> Services -> Export as shown below…
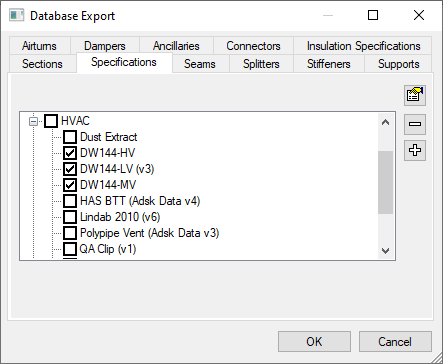
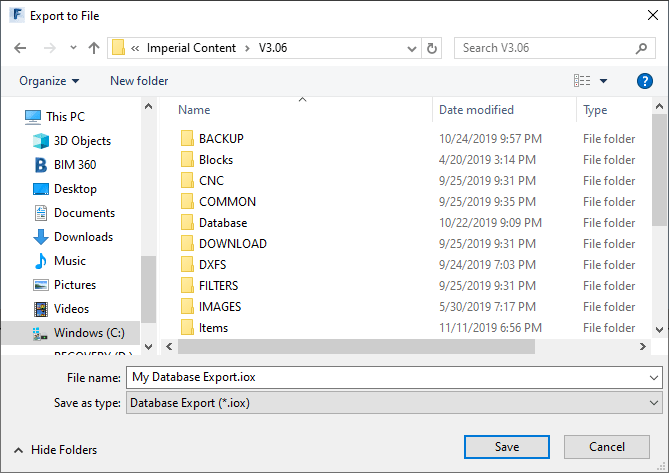
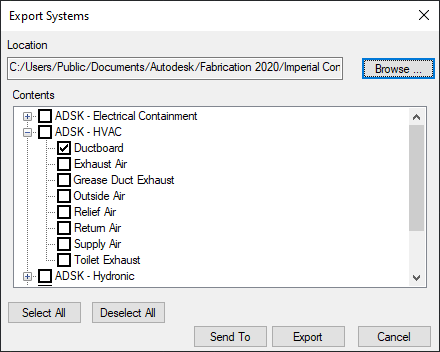
This displays the Export Systems dialog. Use the Browse button to select the location and name of the *.IEZ export file. Select the service(s) you wish to export and click the Export button.
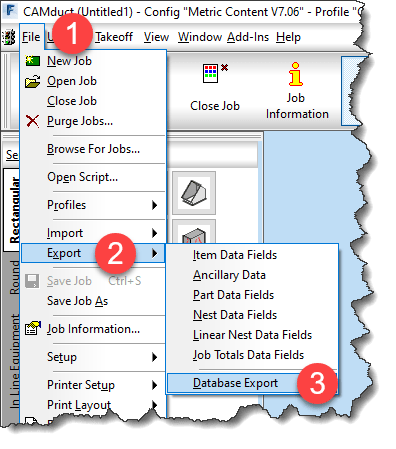
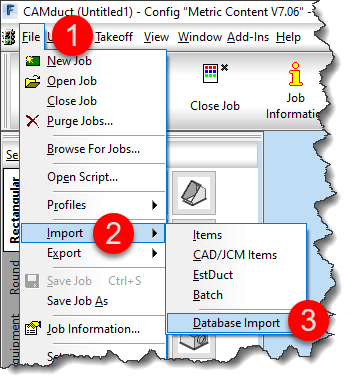
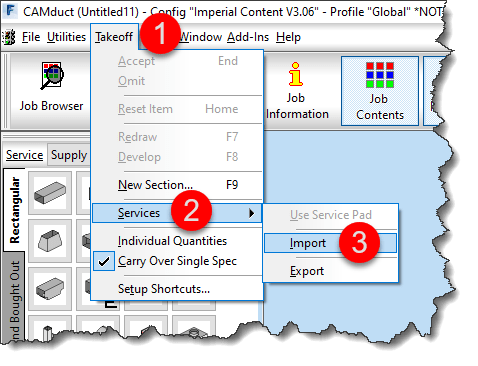
Importing is a similar process. Type IMPORTSYS from CADmep or from the Takeoff screen in ESTmep or CAMduct, select Takeoff -> Services -> Import as shown below…
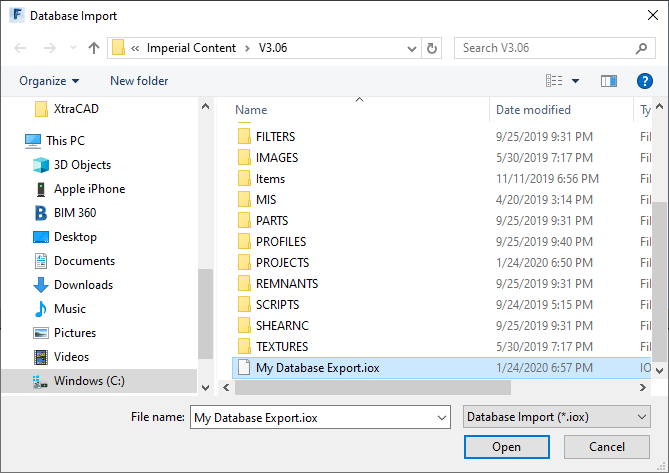
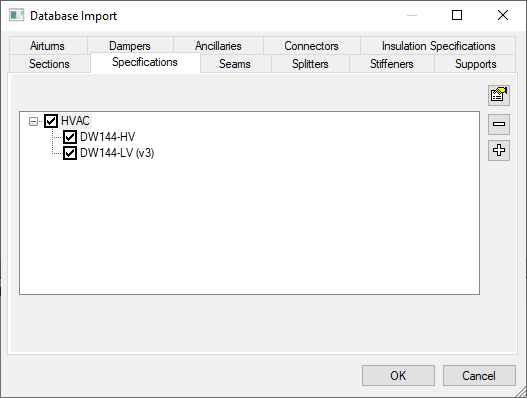
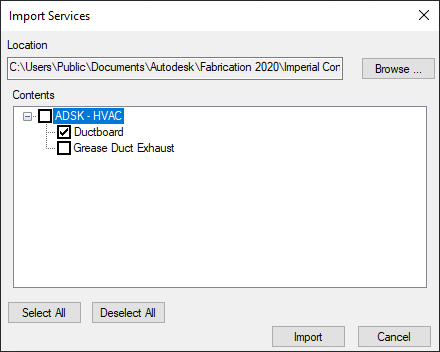
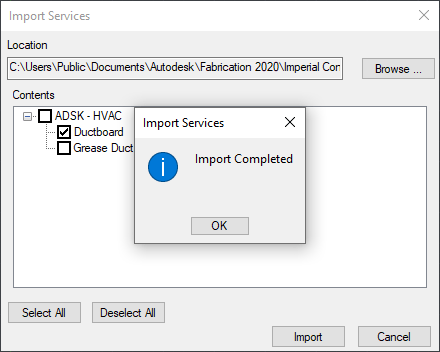
You are prompted to select an *.IEZ file for import. The file will be read and display all the services that were exported. Select those you want to import and click Import.
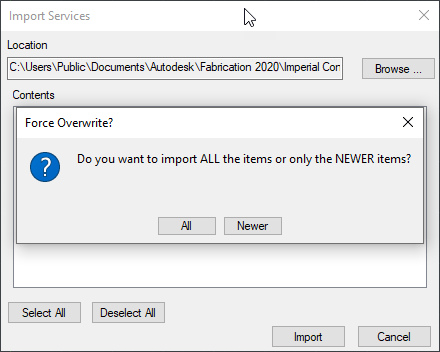
Because IEZ imports can contain a lot of data, it’s likely you may have a lot of duplicates. Upon import, you are prompted if you’d like to Import ALL or NEWER item. Select as appropriate for your situation as shown below.
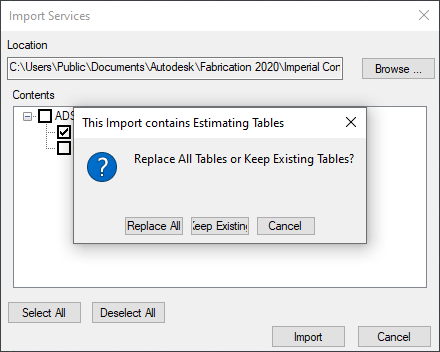
If Estimating data is found, you are also prompted to Replace or Keep existing tables. Because the database you are importing to is likely your current desired database, I’d recommend to Keep existing tables and only Replace if you intend to bring over labor and cost data in the Import. Once again, choose the option that best suits your needs as shown below.
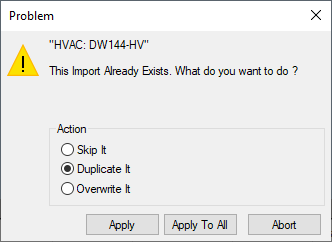
Like in Method 1 earlier, if the import finds a service or template it thinks is the same, it’ll prompt you how to proceed. I highly recommend NOT selecting the “….To All” options as it’s common for the database index to cause false matches and mislead you.

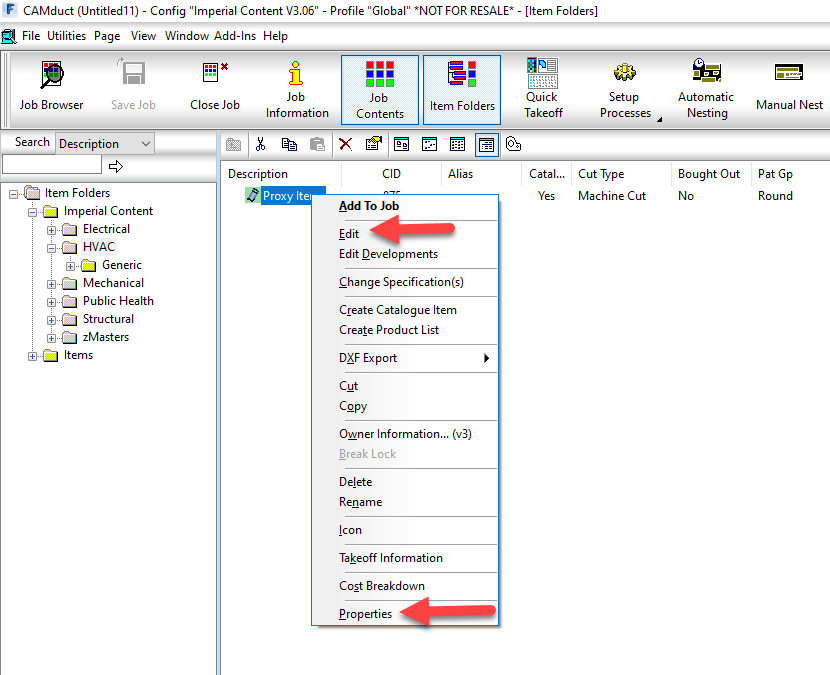
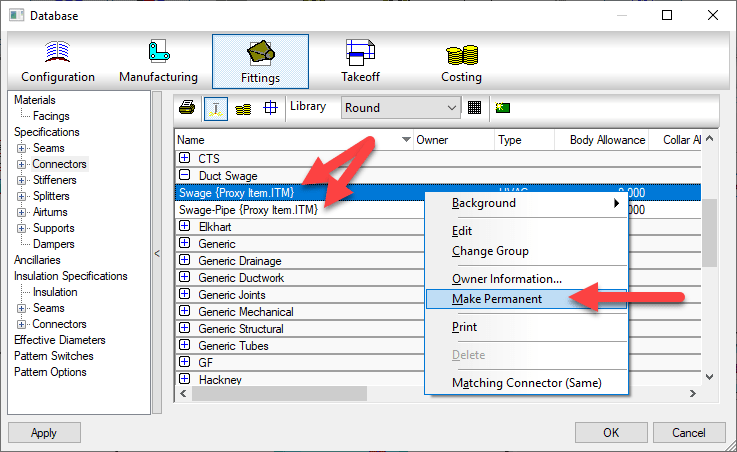
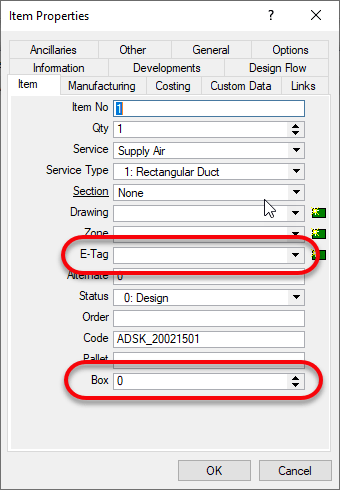
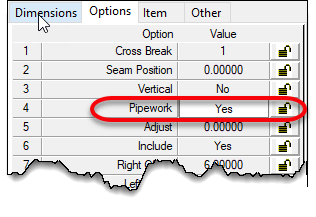
You are prompted once the import is complete. As with Method 2, if ITM’s imported through this process contain new database entries, you’ll need to find those and make them permanent in a similar way.
Pros:
> Easiest way to import large numbers if ITM’s and their related database entries.
> Easy way to import Services and Service Templates
Cons:
> Slowest of all process do to all the verification the Import process needs to do.
> Can Import a lot more data than you intend.
> Can not pick and choose individual database entries to import
Stay tuned for Method 4 in my next and last post in this series.