Autodesk Fabrication: Best Practice #8
Only One Concurrent Database Administrator at a Time.
If you use a shared database (such as on a network location), you’ll want to lock down who can edit the database and restrict that to a single concurrent user. Many areas of the Autodesk Fabrication database are large tables. If two or more users have the ability to edit those tables at the same time, you’re asking for problems. That is, the last user to edit the database wins and the other looses their changes.
Here’s how that happens….
User A logs in with full administrative permissions.
User B then logs in with full administrative permissions.
At this point, both users are on the same page because they both loaded the database into the computer’s memory.
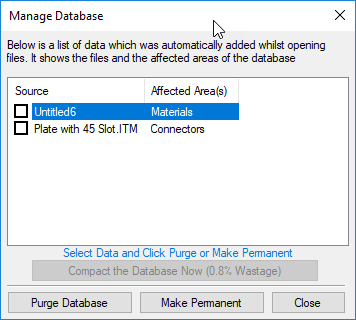
Now lets say, User A creates some new materials and connectors for some content they are building. At the same time, User B creates a new service and exits.
User B now has their new service written to the database on the server. That’s good. But User A doesn’t have those changes, they opened the database before those changes were made. When User A exits the database, what’s in memory on their computer gets written back. This is their new connectors and materials, but also the original list of Services without User B’s changes.
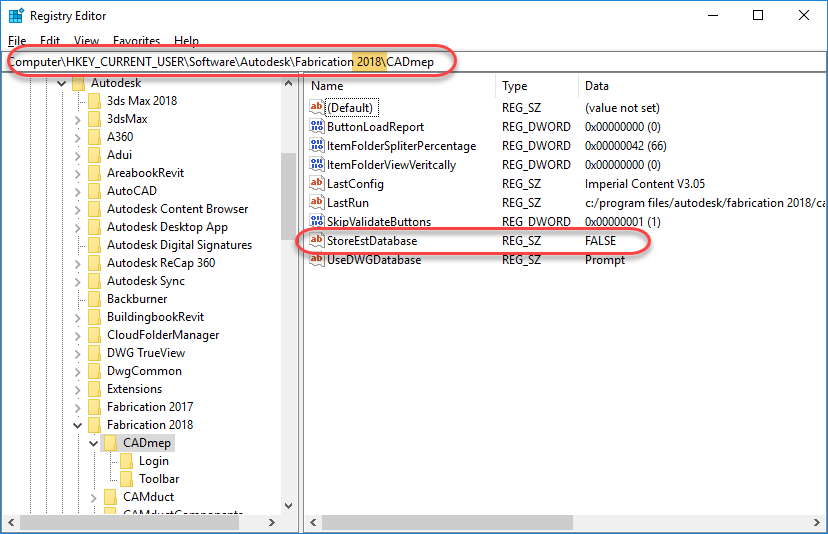
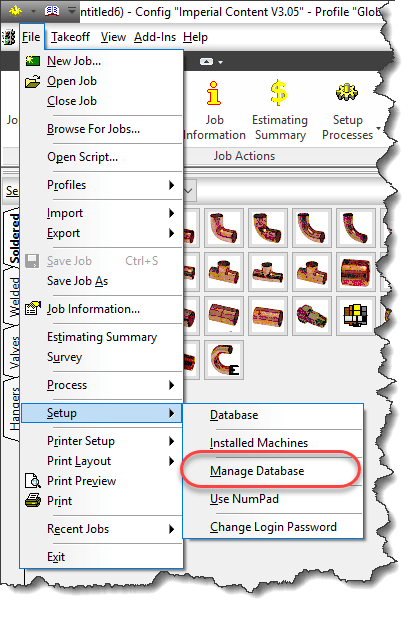
For this reason, it’s a good idea to create a separate user account used only for Database Administration work and limit it to a single concurrent user. To do this, use the “Configure Users” program that comes with all of the Fabrication products. The following image shows the setting that allows a single concurrent user and all the settings this account could (should) have.
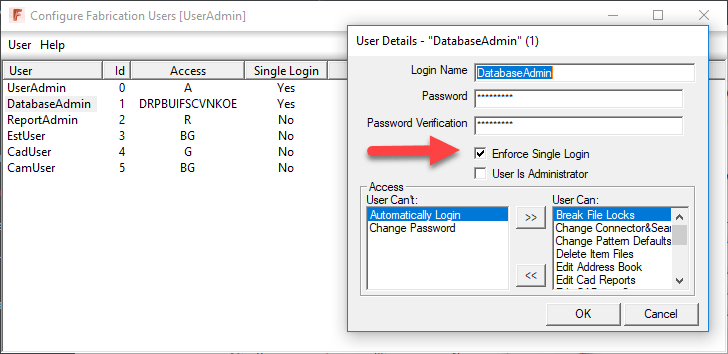
Now if you look closely, you may notice I typically have a couple other Admin accounts in there. Once users are setup, you typically don’t need to mess with them again so I create a separate account only for this purpose but you wouldn’t have to, it could be combined with the “DatabaseAdmin” account.. This is the “UserAdmin” account shown in the image. I also restrict this to a single concurrent user and guard it’s password to only a few select people who really understand how the Fabrication Database works.
For every rule, there’s an exception and you’ll also see a “ReportAdmin” account. This account is NOT restricted to a single concurrent users and here’s why…
When you edit most database settings, you’re editing a large database table with lots of entries. When you edit a report, you’re editing a single file for that report only. The chances that two or more people will edit the same report at the same time is very small. This means multiple users can create multiple reports at the same time and each will save to their own file.
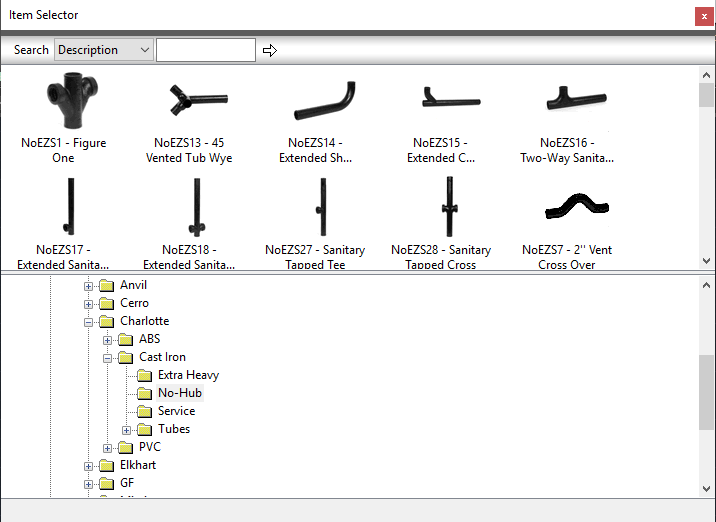
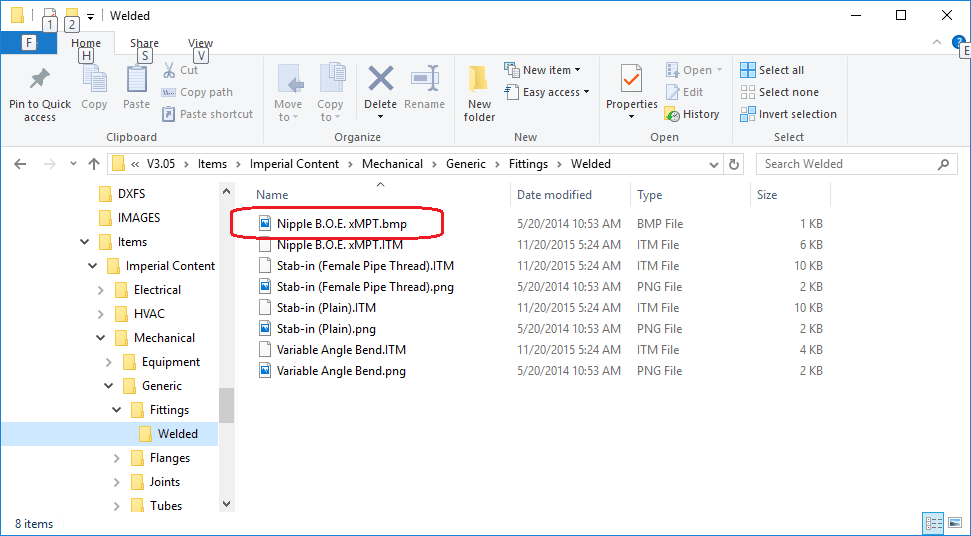
Much like Reports, content (ITM files) are separate file based and will most likely not have more than one person editing the same ITM at the same time. This means you could also create a separate “ContentAdmin” account that lets you setup and delete folders only (no other permissions). Alternatively, you could combine both of the Report and Content accounts into a single “PowerUser” account that does both like in the following image…
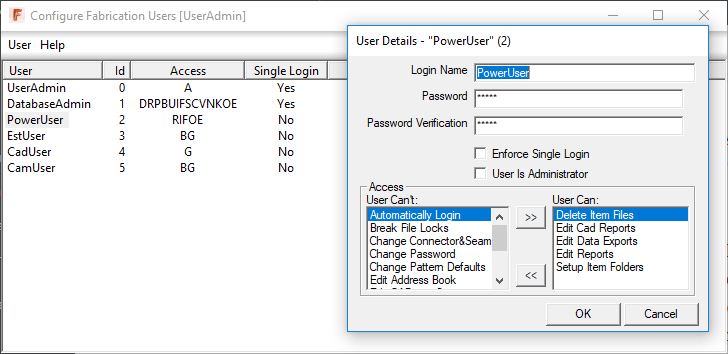
Using a less restricted account like this allows more people to create Reports or Content without creating a bottleneck in your workflow. Those creating ITM’s won’t be able to create new connectors or materials or other settings, but they can make new ITM’s that point to existing database entries. This will help you scale your content building activities when you get a last minute request for a large library of pipe fittings. Your primary database admin will use the restricted “DatabaseAdmin” account to create the needed materials and connectors, and you can then have a large number of users making ITM’s using the “PowerUser” account in a safe manner,
Based on a lot of years experience, I’ve been told many times by people that they are careful to not have two or more people go in at the same time and don’t need to restrict their accounts. But I can also tell you, the more I make sure it can’t happen with these restrictions instead of letting them assure me it doesn’t happen because they’re “careful”, the less “unexplained” problems and corruption I see.

 ,
,