Fabrication COD Script Library Updated
I’ve updated the Fabrication COD Script Libraries. You can find them here. There’s a few things you’ll note…
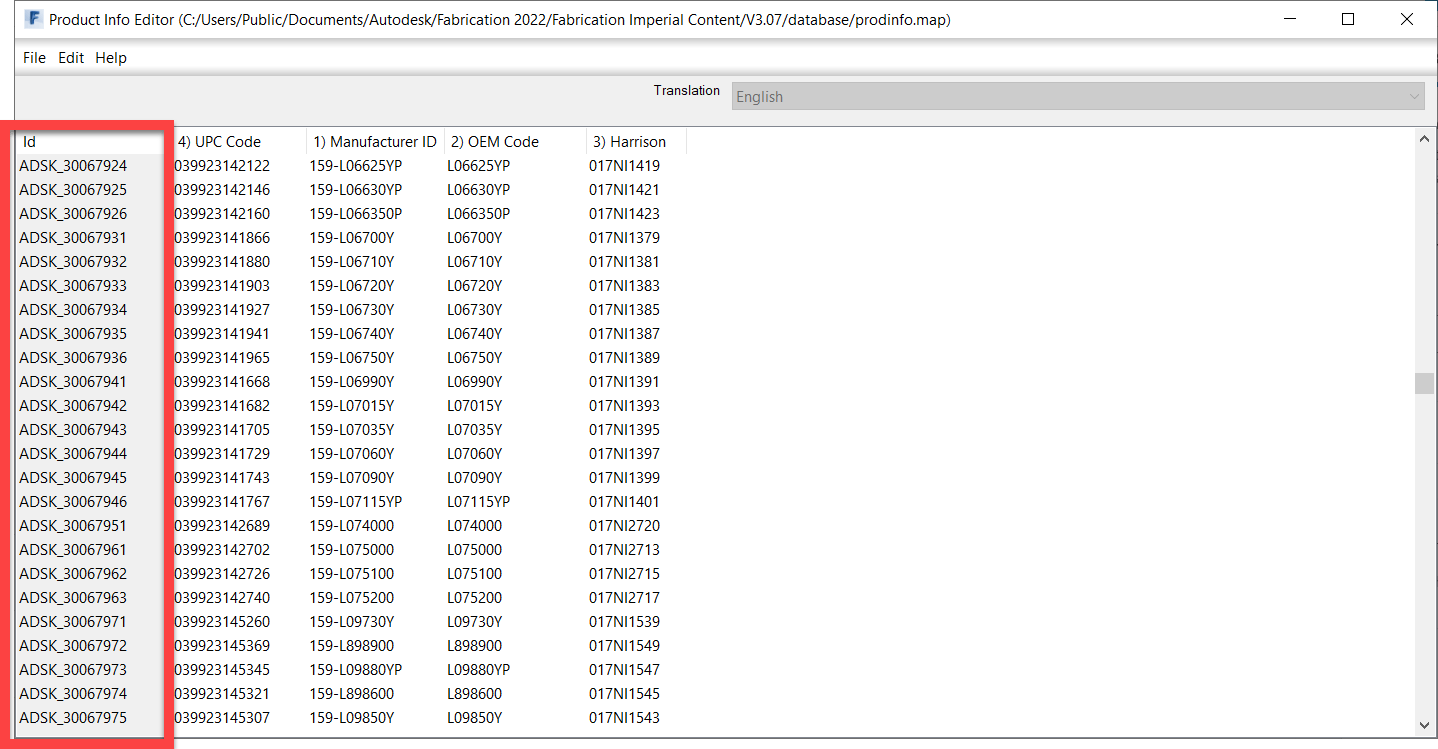
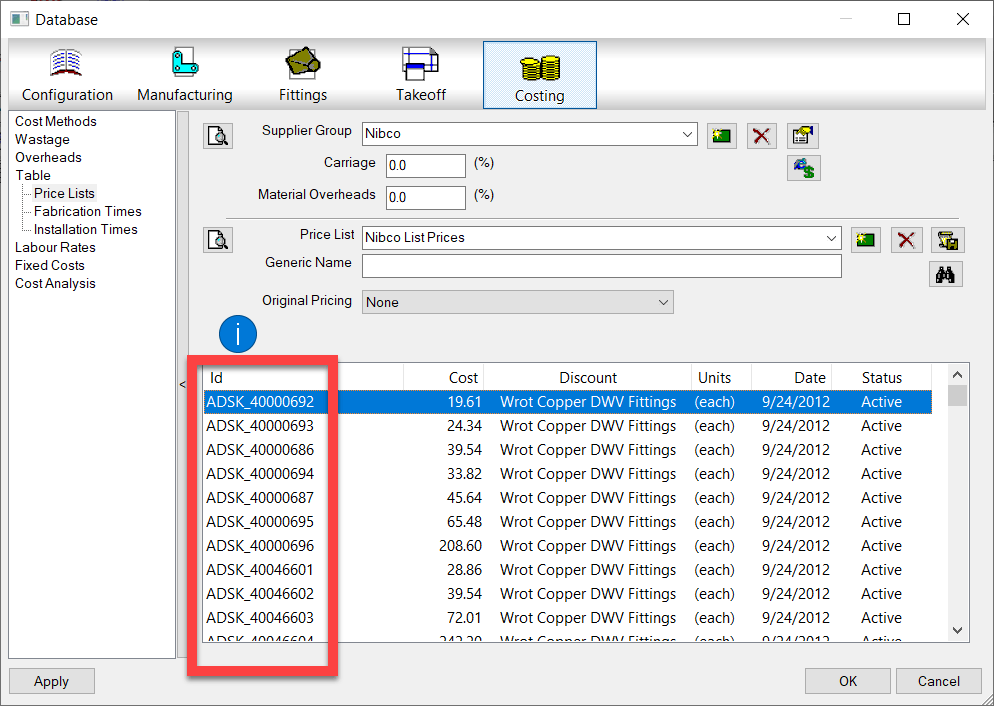
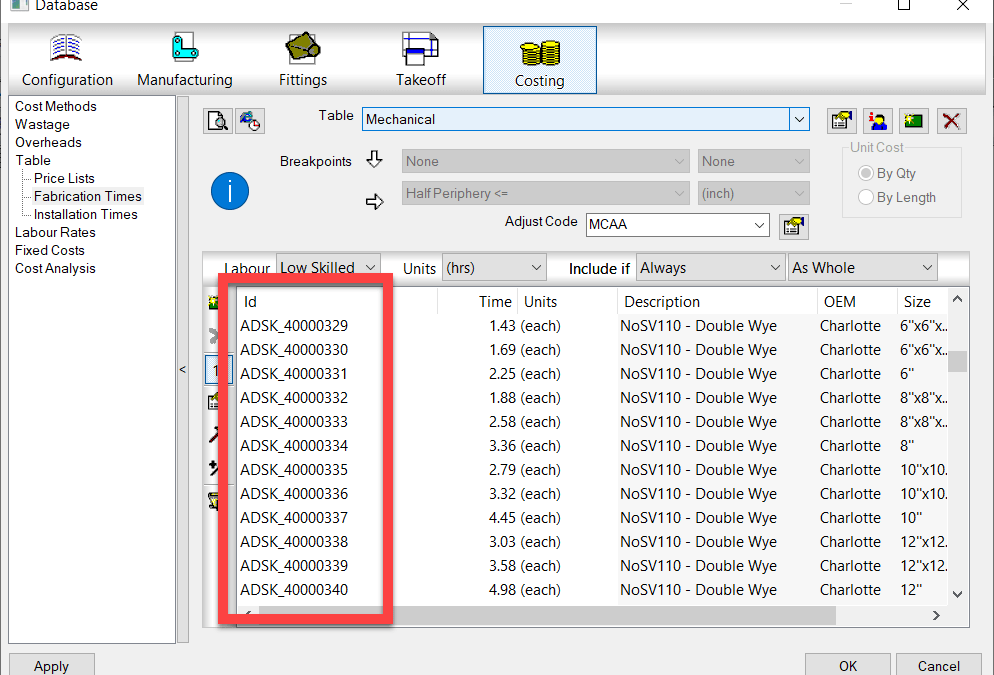
Database Table Export Scripts
I’ve added a library of DATABASE scripts. These scripts will export to a file the names of the entries for select tables in the Autodesk Fabrication Database. For all practical purposes, COD scripts can’t read from the database tables directly. They can only read and write properties of ITMs. However, there’s an exploit that can be used on a few database tables that allow you to iterate through them and step through the entries, assigning them to a Proxy ITM. Using this approach, we can export rudimentary table data limited to group/name.
This technique was discovered via the work of Christopher Kelly at Infinite CAD Solutions who years ago posted a COD script that iterated through the Connector table in a search/replace function that he posted to XtraCAD.Com.
Export Data Wrapped in Double Quotes ” “
Data fields are now wrapped in “double quotes”. This is done so that entries that may contain a comma are no longer split by Excel thinking it’s the start of a new field. This means that if your data contained a comma, you no longer need to use the advanced functionality to change the delimiter of the export to something other than a comma.
Note: I still highly recommend avoiding use of these commas in data field values as Autodesk does not do a good job of handling these in it’s own exports.
Embedded Double Quote Handling
Text that may contain double quotes (“) are now expanded to “double double quotes (“”). This helps Excel process them as actual parts of the data field and not wrappers around a field. Again, this improves data handling for text fields that happen to contain characters also used by CSV files.
Note: I still highly recommend avoiding use of double quotes in data field values as Autodesk does not do a good job of handling these in it’s own exports. If you want to simulate this look, use two separate single quotes.
Fraction Support
Fields like Size and Description can often contain fractional data which Excel loves to convert to dates or other characters. I’ve prefixed these fields with an equal sign (=) which forces excel to treat them as Text and not automatically try to interpret their data type and convert them.
CSV Exports vs TXT Exports
In the past, these scripts exported to a TXT file to force Excel to open the import wizard and allow you the ability to specify which fields were text. As a result of the above changes, this should no longer be necessary so the export files will now be CSV file extensions. This should now allow double clicking on them open them in Excel without splitting strings that contain sommas or double quotes or converting fractions to dates. If you run into properties still prone to Excel automatically converting them, please let me know.
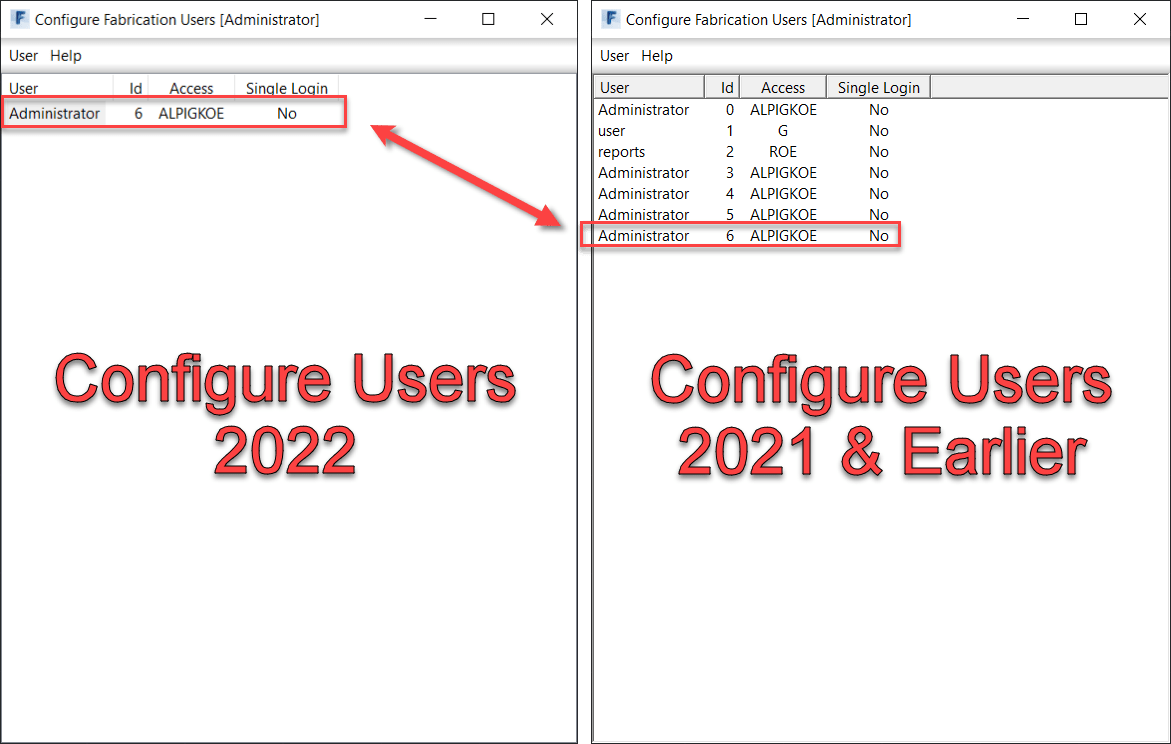
2022 and Earlier Scripts NOT Updated
As time progresses, so should the version of software you use. As such, I’m no longer actively updating the old scripts to include the above changes. They’re still there to download should you need them. And you can easily download both and use a file compare utility to find the differences and update them yourself.
As there’s a LOT of small changes to these scripts. As such, it’s certainly possible I mistyped something and one produces an error in certain data sets. If you run into an issue, please let me know.