Autodesk Fabrication Attacher Tips
CADmep, ESTmep and CAMduct all use the concept of an Attacher. This is what tells Fabrication which way to route elbows and branches.
Most people know how to place and rotate the Attacher. There are a few other tricks to working with the Attacher that you may not know about.
Up or Down, How to Get Around
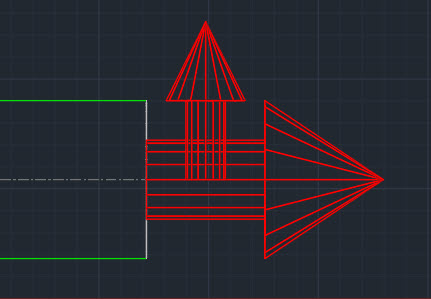
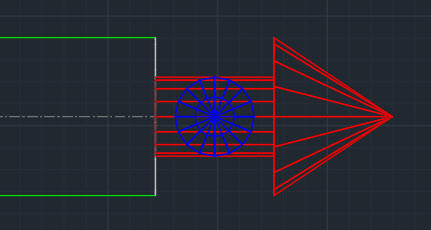
Depending on your view orientation, you may notice part of the Attacher turns from Red to Blue or Green. As you rotate the Attacher it’s color will change to indicate the direction the arrow is pointing.
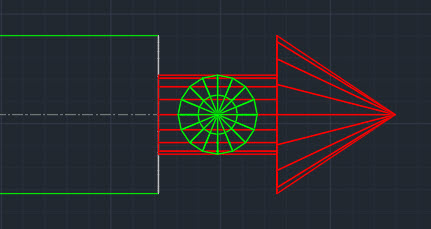
- Green = Grass (Attacher is pointing away from you)
- Blue = Sky (Attacher is pointing toward you)
Rotation Tricks
Depending oh which program you’re in (CADmep, ESTmep or CAMduct) and the keys you press, the Attacher rotates differently. Here’s a chart explaining those nuances.
| Rotation | Method | CADmep | ESTmep | CAMduct |
| 90 Degrees CCW | Click | Yes | Yes | Yes |
| 90 Degrees CW | Shift+Click | No | Yes | Yes |
| 180 Degrees (Flip) | Ctrl+Click | Yes | Yes | Yes |
| 15 Degrees CCW | Alt+Click | Yes | No | No |